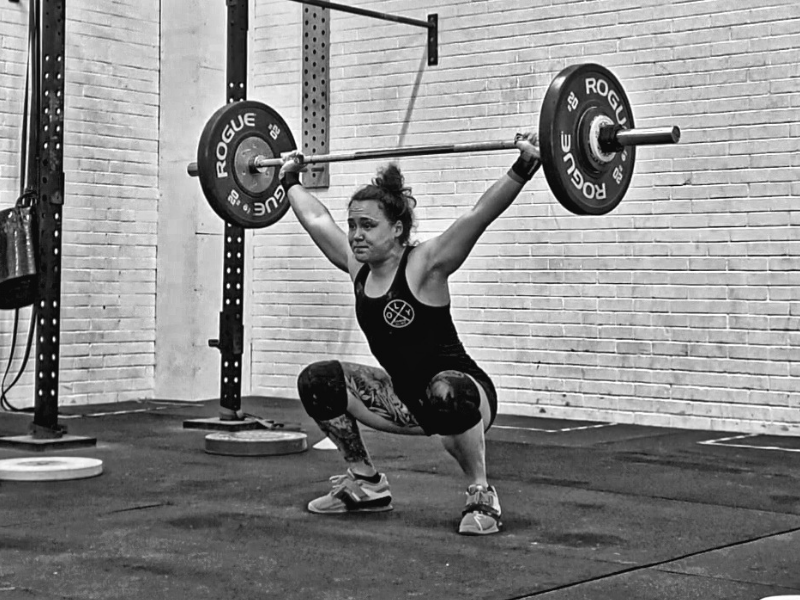
BRACE RIGHT, LIFT MORE!
BY JOSH SUMMERSGILL | JULY 1ST 2021
Are you a floppy fish? Do you get squashed regularly under barbells? Or is your spine screaming for mercy every time you try to lift heavy? There is a high probability that you are either bracing incorrectly, or not at all.
So what is “Bracing”, or “The Bracing Sequence” as it is often referred to as. Bracing is the action of pressurising the trunk using air and firing the muscles of the midline. Think about your torso being a plastic bottle, when it has the lid off, it can be easily crushed, but fill it with air, tighten the lid, and it becomes strong and solid.
The reason why bracing is so important to Weightlifters, CrossFitters, and pretty much all strength athletes, is that it stabilises the lumbar spine. The lower region of our spine is naturally a vulnerable area, this is why the vast majority of human beings at some point in their lives have experienced lower back pain. If we do not stabilise and protect the spine during a heavy lift, the likelihood of injury is significantly increased. If the trunk is not adequately pressurised, the load of the barbell has to be dumped somewhere, and it is normally onto the weakest link in the chain… our lower backs.
As a coach, one of the most obvious times that I spot an absence of proper bracing, is when a newer lift is performing a Back Squat. The lifter removes the bar from the rack, casually walks backwards, and then drops to the bottom of their squat at terminal velocity, before rising back up and fighting to not be folded like a deckchair. Whilst it is important not to overload a new lifter with cues and corrections, safety is paramount and therefore bracing should be one of the first elements that is addressed.
Performing a proper brace takes practice, but it can be pretty simple. To perform a brace correctly we need to follow several steps. Just taking a big gob full of air isn’t going to protect your spine.
Step one, inhale. As you inhale, push your belly button outwards. This will encourage your diaphragm to move downwards to allow your lungs to expand, as opposed to your shoulders lifting to make the room.
Step two, once you have inhaled, you need to fire the muscles or your midline. Don’t think of this as a standing crunch, instead squeeze your belly like you’re about to be punched in the stomach by Mike Tyson. This will help not only fire your rectus abdominus, but also your deep abdominals, your obliques and your lumbar erectors.
The final step is to be performed at the same time as step 2, but it needs to be practiced separately before being implimented into the bracing sequence. If your diaphragm is being forced downwards, all sides of your midline are firing to keep tight, where is the only place left for the pressure to go? Yep, out the bottom (pardon the pun). So the final step is to fire up your pelvic floor. For the scope of this article, this can be done by trying to hold in a wee, and also hold in a number 2. You’re effectively closing off all the doors. You are now braced and ready to lift.
Practice bracing during simple movements first before progressing to heavy loads. To perform an air squat, set your feet, inhale, belly squeezed, pelvic floor tight, and hold the brace for the duration of the rep, and then exhale at the top. Once you master the art of bracing, not only will you be able to lift with greater safety, but you will be able to move considerably more weight. The bracing sequence is our bodies built in lifting belt, we would be crazy not to use it.
Happy lifting folks!
If you enjoyed this post, check out my next post “Health and Elite Performance Are Not The Same“.
